You can take pro-quality food photos with just your phone, as long as you prepare your shoot well and follow a few simple rules. This step-by-step guide helps you turn your dishes into Instagram content that makes people hungry: preparation, light, framing, editing and feed consistency.
The advice below is aimed as much at restaurateurs as at food content creators.
Tutorial: Take Pro Food Photos with Your Smartphone (for Instagram)
Reading time: ~11 min
1. Prepare your smartphone food photo shoot
2. Stage your dishes to tell a story
3. Master light with a simple smartphone
4. Frame your dish photos well
5. Make the most of your phone’s photo modes
6. Edit your photos directly on Instagram
7. Dos and don’ts for food photos that make people hungry
8. Mini FAQ on smartphone food photography
Prepare your smartphone food photo shoot
Before taking out your phone, define the goal: a signature dish, a novelty, a visual dessert or a table atmosphere. Then look for inspiration on Instagram or Pinterest and observe the direction of the light, the number of elements around the dish and whether hands appear. Finally, think storytelling: before tasting (the dish untouched), during (cutting, pouring, stretching the cheese) or after (a plate partly eaten). Design your shoot as a mini-series to publish as a carousel, making-of included.
Stage your dishes to tell a story

Choose a simple story around the dish
Decide on the emotion to evoke: a convivial moment (several plates and hands serving themselves), indulgent pleasure (close-up of a runny or crunchy texture) or a refined moment (minimalist composition). Adjust the styling: for example, add slices and glasses for a pizza to share, clean up the scene for a sophisticated dessert or line up a few raw ingredients next to a cocktail.
Props and atmosphere that are easy to find in a restaurant
You already have the essentials: varied tableware, plain tablecloths, a clean tea towel, simple cutlery, a carafe, a wine glass, herbs or spices from the dish. Stick to two or three dominant colours to keep the image readable. A raw wood background, light or dark and textured, is often enough and reflects your venue’s identity.
Master light with a simple smartphone
Natural side light, near a window, creates depth and brings out textures. If it is too harsh, soften it with a sheer curtain or a light tablecloth. Avoid the phone flash and direct full sun. In a dark interior, tap the screen to raise the exposure slightly, lower the ISO if possible to limit noise and adjust the white balance. Warm evening light can become an atmosphere asset rather than a problem.
Simple benchmarks: • Avoid the flash that flattens textures. • Do not place the dish in direct sun at peak hours. • Look for soft, diffuse light without harsh shadows.
Frame your dish photos well
Three angles that almost always work
Overhead view (flatlay): ideal for brunches, pizzas and composed tables. Position yourself just above, centre or balance the composition and watch the edges of the frame.
Three-quarter (≈ 45°): matches the view of a seated guest; perfect for deep plates, burgers, tall desserts, visible layers.
Close-up detail: show a precise texture (runny, crunchy, mousse). Macro mode or a close focus often creates a pleasant background blur.

Use hands and movement
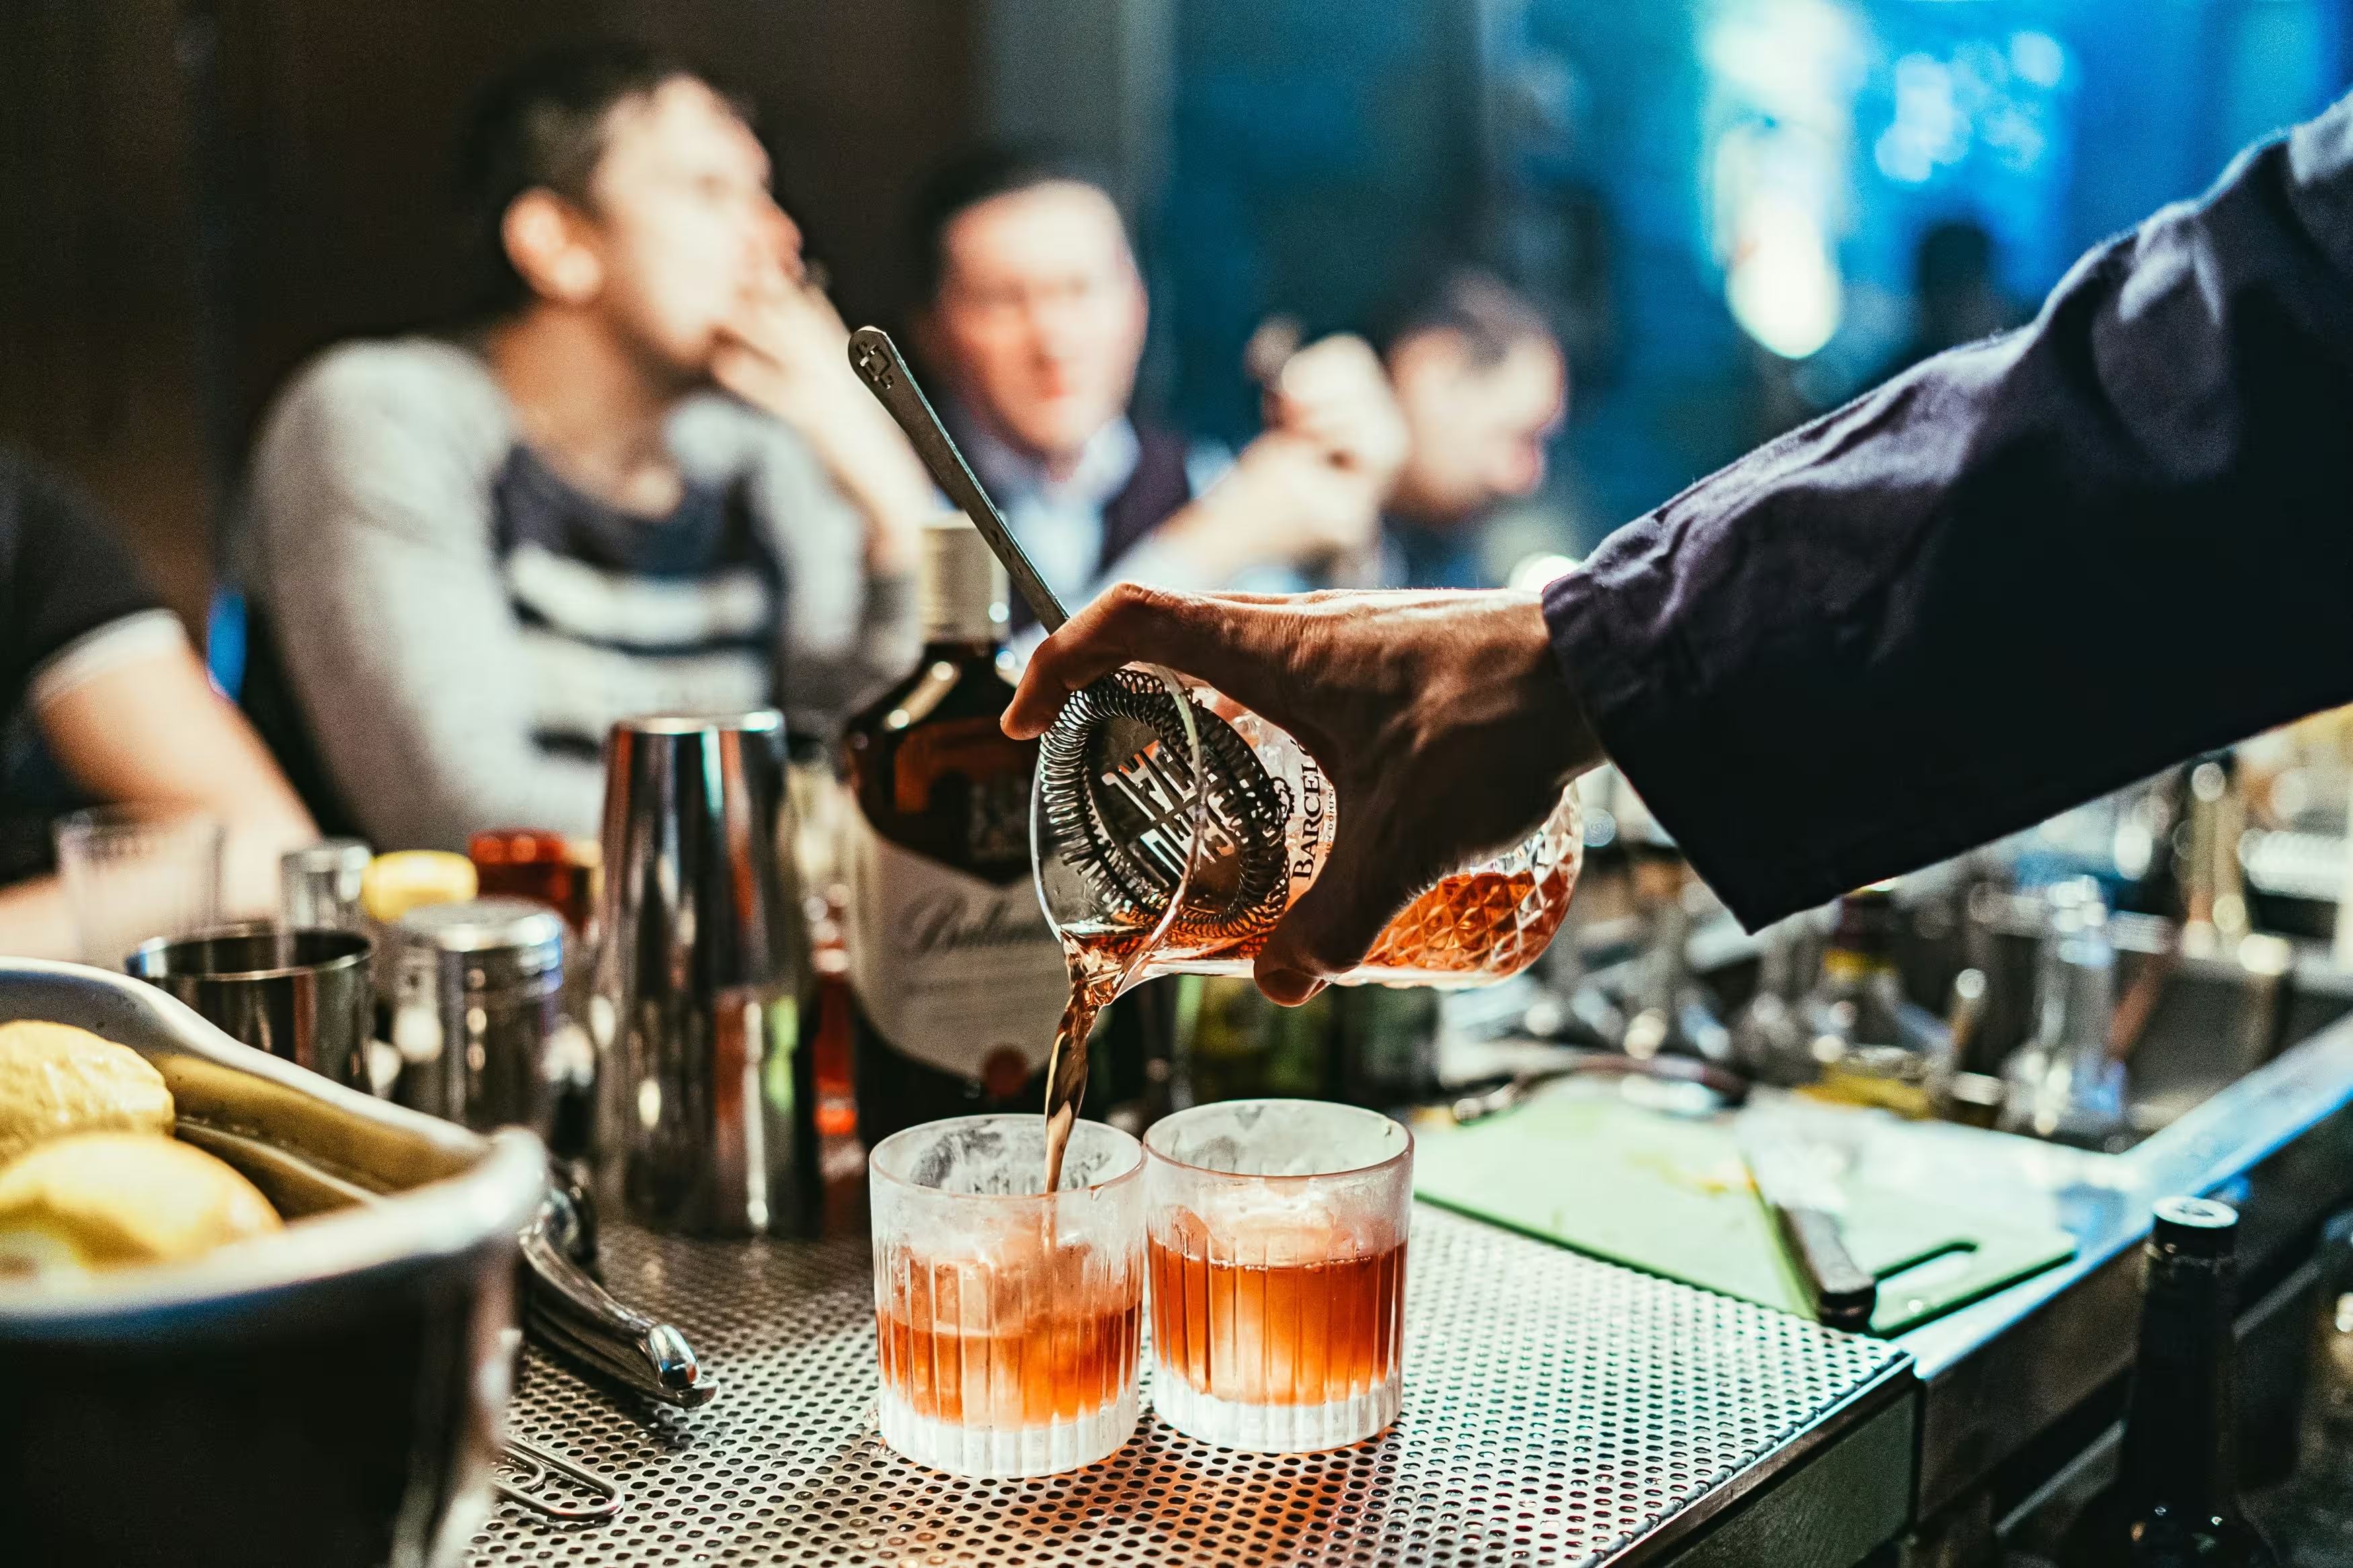
Bring in life: a hand pouring a sauce, cutting a slice or raising a glass. Ask a colleague to play the guest and also capture a behind-the-scenes photo of the setup for an authentic carousel. Turn on the composition grid to apply the rule of thirds and keep lines straight.
Make the most of your phone’s photo modes
Portrait mode blurs the background and puts the dish forward; aim for the heart of the subject. Food mode (depending on the smartphone) subtly boosts colours; test it against the standard mode. Pro mode gives control over sensitivity, speed and temperature; keep it simple to avoid noise and unrealistic colour casts. In every case, tap the screen to focus, lock the focus if possible and take several framing variants.
Edit your photos directly on Instagram
Editing should enhance, not transform. Slightly adjust brightness and contrast, recover detail in highlights and shadows, dose saturation and vibrance, and correct colour temperature. Keep overall consistency: warm golden tones for a bistro mood or a desaturated graphic palette for contemporary cuisine. Visual harmony also strengthens perceived quality on a digital menu.
Dos and don’ts for food photos that make people hungry
Do: clean plates and worktop, test several angles, use soft natural light, simplify the scene, shoot a mini-series (before/during/after + making-of).
Avoid: direct flash, fingerprints or uncontrolled drips, too many competing colours, framings that cut off important elements, overuse of filters that distort the food.

Mini FAQ on smartphone food photography
Do you absolutely need a smartphone tripod?
No. It helps for overhead shots and series, but to begin with, simply steady your elbows on the table or the back of a chair.
How long should you allow for a small menu shoot?
Allow about an hour for three to five dishes, outside service. The more thorough your preparation (list of dishes, desired atmosphere), the more time you save.
Do I have to edit all my photos before putting them on a digital menu?
A minimum of editing is recommended to harmonise brightness and colours, especially if the same visuals are used on Instagram and on a digital menu.
When should you call on a professional photographer?
If you are short of time or launching a new menu, a specialised food photographer can make the difference. Discover for example the restaurant food photo shoot offer from Appero.
By applying these steps, you will turn your smartphone shoots into content that makes mouths water. To go further and build a digital menu optimised around these visuals, also see the Appero solutions.